ZEISS Medical Industry Solutions, Quality Assurance for the Highest Medical Standards
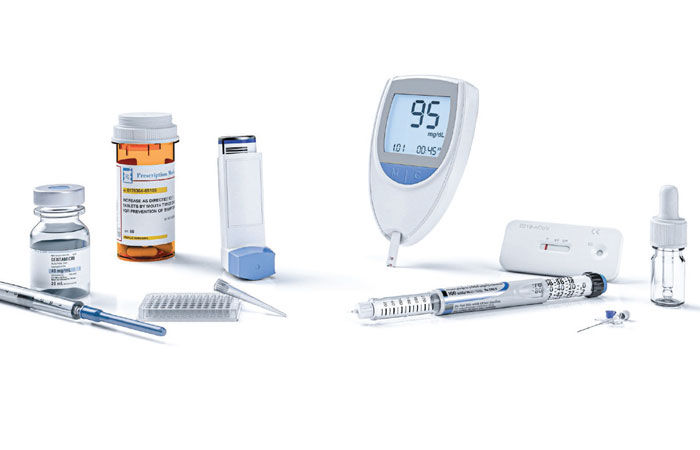
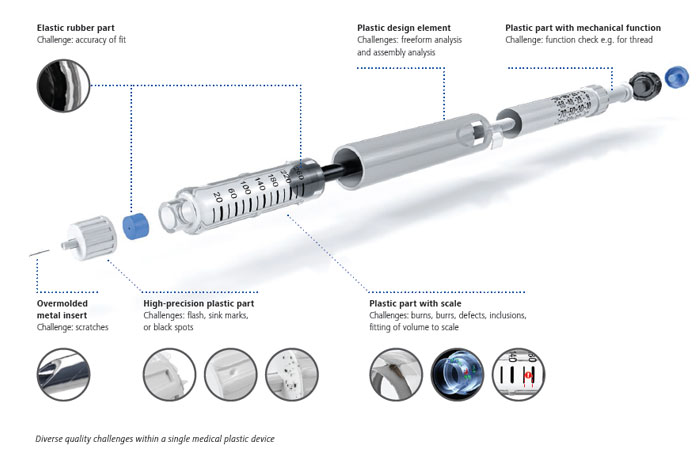
Medical plastics: Swift regulatory compliance at scale Medical plastics deliver a pharmaceutical compound to its target site. Given their direct impact on quality of life, they are subject to a variety of strict quality assurance regulations including FDA 21 CFR Part 11. Measurement speed is also vital for efficient handling of the huge quantities of medical plastics that are produced. From geometric dimensioning and tolerancing to final inspection of the assembly, the key to effective quality assurance is ensuring seamless interaction between hardware and software – and ZEISS has developed a number of innovations in recent years. Operators can perform single-point measurements, full 3D tactile continuous scanning, and optical measurements with the ZEISS O-INSPECT multisensor measuring machine and the latest ZEISS CALYPSO software options.
The ZEISS METROTOM 1 computed tomography system and Volume Inspect Pro software provide all-round quality analysis. Though these are very different processes, they are united by ZEISS’ innovative drive and regulatory focus that can help overcome all operational hurdles.
This technical paper will focus on post-production quality assurance of medical plastics. ZEISS provides quality assurance solutions throughout the entire medical plastic production process from the raw materials to the final assembly. Specific parts of the finished product must undergo classic dimension, shape, and position checks via tactile and optical single-point measurement to ensure their accuracy. A non-destructive inspection must be performed on the entire final assembly of the product – and since this demands a different approach that cannot be fulfilled by tactile and optical equipment, a CT system is required. The key in each case is to reduce measuring times while maintaining the necessary precision, as this makes it easier to handle the high regulatory demands and sizable production quantities characteristic of medical plastics.
30% reduction in tactile measurement time
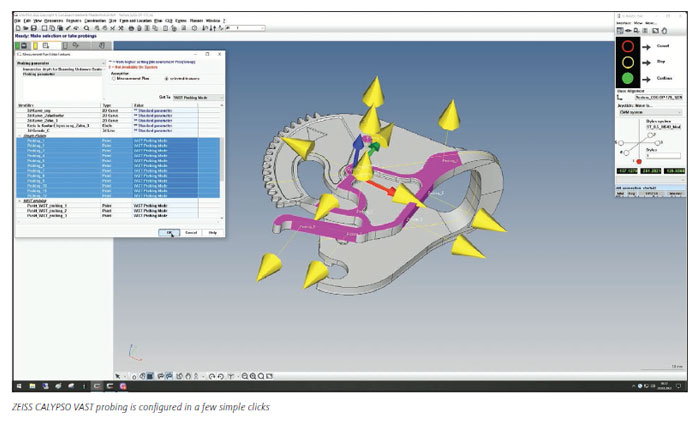
Since medical plastics are produced in such large numbers, the challenge during geometric dimensioning and tolerancing is to boost efficiency at scale through faster measurement. The ZEISS O-INSPECT multisensor measuring machine handles medical plastic devices like inhalers through the programming of single points and full 3D tactile scanning in ZEISS CALYPSO software. With respect to regulatory compliance, it offers optimum tactile and a few clicks. Offering faster singlepoint detection, this can reduce tactile measuring times by around 30% while maintaining sufficient accuracy.
Given that it can be activated for each component and indeed each feature of each component, this 30% saving quickly adds up when checking hundreds of components and potentially multiple features on each one. The same dynamic also applies when there are greater numbers of measuring points to be processed.
Extending the benefits to optical and pallet measurement
Starting with ZEISS CALYPSO 2022, ZEISS has now extended the benefits of ZEISS CALYPSO VAST probing to include optical measurement. Both the setup and the benefits are identical: The optical measuring time of each feature of each component can be reduced by approximately 30% with a few simple clicks. This helps operators make the most of the tactile and optical performance provided by ZEISS O-INSPECT.

ZEISS O-INSPECT offers additional time savings with the ZEISS CALYPSO pallet optimizer, which ensures more efficient performance of pallet measurement. Rather than alternating repeatedly between tactile and optical equipment while measuring each individual component in sequence, it significantly reduces the number of stylus system changes by grouping all tactile and optical measurements of all components into respective batches. As a result, this pallet metrology software option cuts pallet measurement times by 20-30%.
See it all with computed tomography
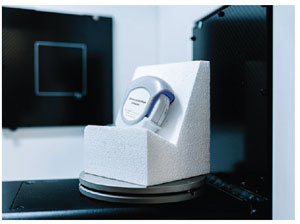
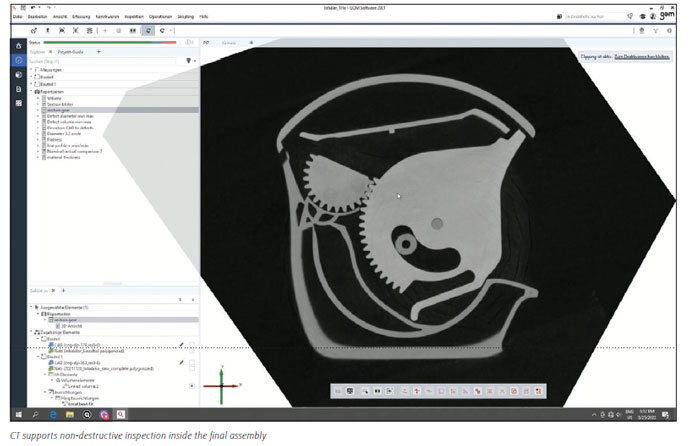
Computed tomography (CT) goes further than tactile and optical technology, supporting geometric dimensioning and tolerancing tasks as well as final assembly inspection. The CT system ZEISS METROTOM 1 scans multiple components at once without applying any force, ensuring substantial time savings and easier fixturing. Working together with the software Volume Inspect Pro, which automatically calculates the scan parameters, it offers easy automated one-run scanning and evaluation that is accessible even to inexperienced users. Deviations from the CAD model and material thickness can also be checked via a one-click comparison of the nominal and actual values.
As a non-destructive technology, CT looks inside the finished component and inspects the complete assembly in ways that tactile and optical approaches cannot. Having used Volume Inspect Pro to create a cut at any point in the scan, operators can quickly detect hidden defects. In the case of an inhaler, for example, this enables the checking of gears for proper interlocking and mechanical function. Operators can make use of multiple defect analysis functionalities to assess the diameter, arrangement, and volume of defects, as well as their deviation from the outer shell.
Summary
ZEISS solutions for medical plastics ensure regulatory compliance at high measuring speeds and on a large scale. Tactile and optical measurements can be performed 30% faster, with further substantial time savings achieved through efficiency-boosting pallet measurement. Non-destructive CT inspection offers unparalleled insight into the final assembly through one-run scanning and oneclick value comparison. And seamless interaction between the hardware and software takes each of these processes to the next level.


